A simple approach to HDR-blending
or: Getting rid of ugly blending halos
One of the biggest problems in panoramic imaging is the typical high dynamic
range of the scenery.
Many commercial applications address this problem but the higher the brightness
differences are, the more images you need to blend to get a sophisticating
result.
This tutorial addresses the generation of a blended image from 2 shots in
general - with a special focus on reducing the resulting blending halos.
Preparation: How to shoot the images
If your camera can do spot-metering, enable it. This will help you to measure
the exact spot which you want to use for your different images. If your camera
has no spot-metering, shoot the image and check it thoroughly if it fits your
needs.
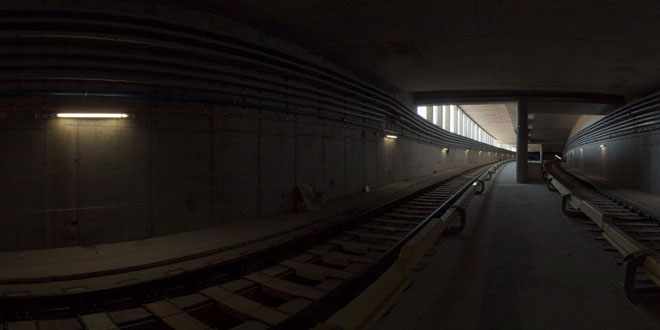
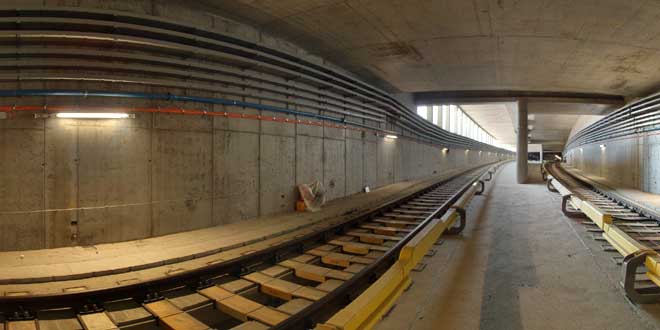
The "light" image:
This image will hold the information about the darker areas of your blended
image. Capture it without caring about the bright areas in your image. It should
look like a "normal" photo.
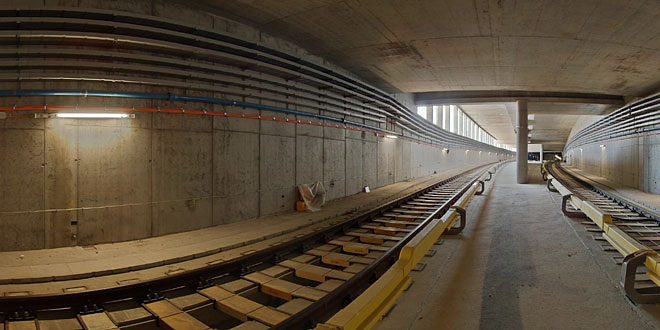
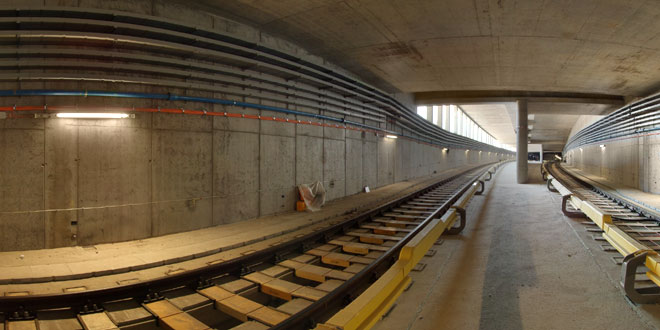
The "dark" image:
The enemy of digital photography is over-exposure. You need to avoid an
overexposed image under any circumstances. You can restore pretty much out from
darker areas in your digital image, but you can't restore any information out of
a bright white area.
To avoid over-exposure, expose towards the brightest areas in your image.
Your images may look like these:
The "light" image:

The "dark" image:
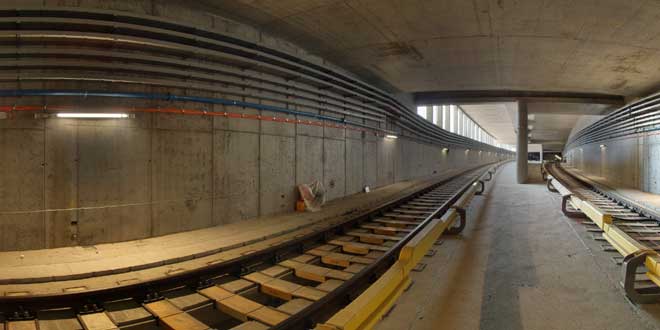
This is how a standard blending process will look like:
Processing the images:
Step 1: Blending
Several ways exist to blend the images together for a nice visual appearance:
GUI-based with a software like
Photomatrix (http://www.hdrsoft.com/)
-
Contrast Blending (Exposure Blending) - or some manual work with Photoshop
as described here:
You will need a software which can handle layers like Photoshop or Gimp.
- Load both images and copy the dark image as a separate layer over the
light image. Add a layer mask with the dark image completely masked out.
- As you can see there are "burnt out" white areas in the light image. All
the following steps have to be done separately for each coherent white area in
the image:
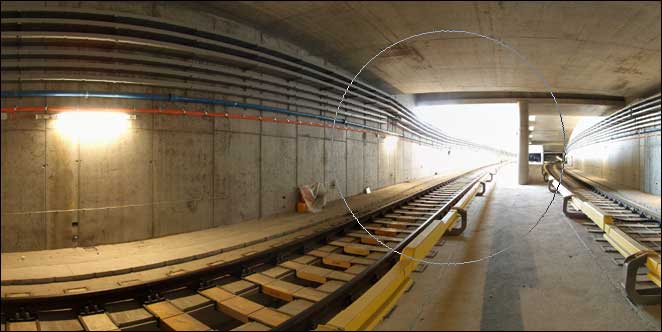
- Prepare a layer brush (=the normal brush) with fading edges
and a radius which is a little larger than the area you want to get from the
dark image. You can see an example of the brush size for the large area in
this example:
- Click to "paint through" and don't care if the brightness doesn't fit
perfect. This will be addressed in the next step.
- Now adjust the brightness of the blended areas. Reduce your layered image
to one layer. Use the "brighten"-brush with a strength of about 10% to
carefully adapt the brightness:
- Now we have to eliminate the resulting color halos for a correct image
appearance. This step may sound complicated but is very straightforward as
soon as you are used to the process.
- Use the pipette tool to retrieve a color sample of the surrounding area
where the colors are still correct. Use a multi-point matrix to have a good
color sample.
- Now select the brush tool. Switch the painting mode from "Normal" to "Saturation".
Paint over the color halo. Don't be irritated if the color will become worse
than before.
- Switch the painting mode from "Saturation" to "Color-Tone".
Paint over the color halo.
- If you feel that colors are too intense, you may use the
desaturation-tool to carefully reduce the colors. A tool-strength of
about 10% is strongly suggested.
Questions and suggestions to
bvogl@gmx.at
|