|
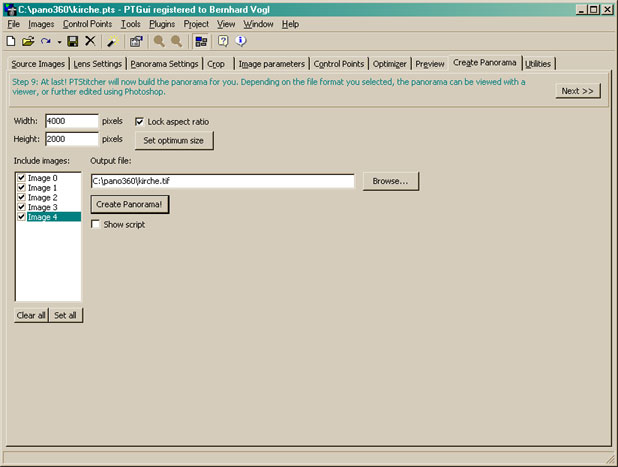
Go here if you look for an updated tutorial for PTGui V5 and above!Part 5: Assembling the ImagesWithout the zenith-image this step would be very easy: Set "TIFF" as "File Format", use "Enable Enblend" ("Plug-in Menu") and there we go. Unfortunately there is no automated way to use Enblend for inserting the zenith image flawlessly. We have to use the DOS shell to assemble images in a controlled way... Go to the tab "Create Panorama". Creating Fullscreen VRs I recommend an output size of at least 4000x2000 as a good compromise between details and file size. Perhaps this recommendation will not fit your needs - especially if you use a camera with less than 4MP resolution.
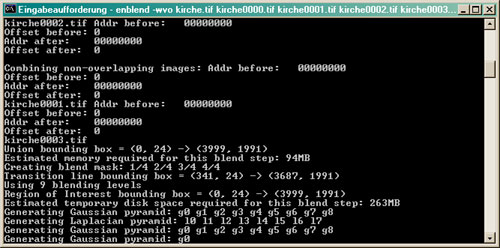
After some calculation time you should get 5 TIFF-images. Each one has your output name plus a 4 digit suffix. We will now use Enblend to blend the images. To simplify the workflow, you should download this little batch file into the directory of Enblend (right click and "Save as"). This batch file will allow drag and drop operation with Enblend.
Finally we have to add the zenith-image. Open your favorite image-editor (has to be able to use layers, e.g. Photoshop). Create a new image with the size of your final panorama. Load the blended image, copy it and paste it to the new, empty image. Reduce the image to the background layer. This will help you to get rid of the, now superfluous, blending mask which would cause some problems in the final step. Now paste the zenith image over the panorama. Add a layer-mask (mask all). Now you can paste the required parts of the zenith to your panorama (use a white brush!). Again reduce to background layer. Now is a good time to adjust Brightness,
Contrast etc. and eventually Sharpness.
|