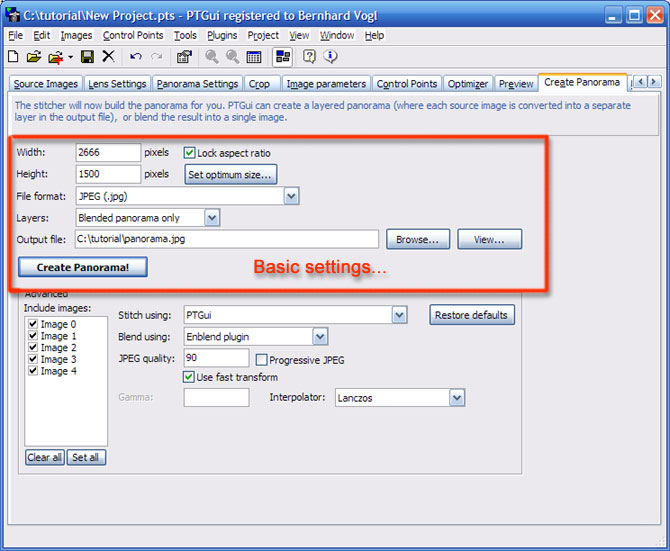
We are almost done now. If you don't want to hassle about getting the very
best from your source images, just set the desired dimensions of your
panorama, select the file Format and the output file name.
If you want more control over the result, we have to take a closer look
at the advanced options:
There are mainly two things you will take over control:
- How precise (and time consuming) the transformation from the source
image to your selected projection type should be...("Stitch using:")
- ...and the method by which the seams of each source image are blended into
each other ("Blend using:"). If you have visible seams and/or
visible light falloff between the source images, you should take a closer
look at this option.
There are several pros and cons for each method and if you are
interested I suggest searching the archives of the
Panotools
List and taking a look to the
Panotools Wiki to
learn more about this topic.
Some "classical" option suggestions:
- High quality, high resolution stitch:
Blend using: Enblend plugin
Interpolator: "Lanczos" for PTGui stitcher, "spline64" for Panorama Tools
stitcher
No use of "fast transform"
- Panoramas with moving objects, low to medium resolution:
Blend using: Smartblend plugin
- Fast panorama creation:
Stitcher: "Panorama tools (PTStitcher)"
"Use fast transform" enabled
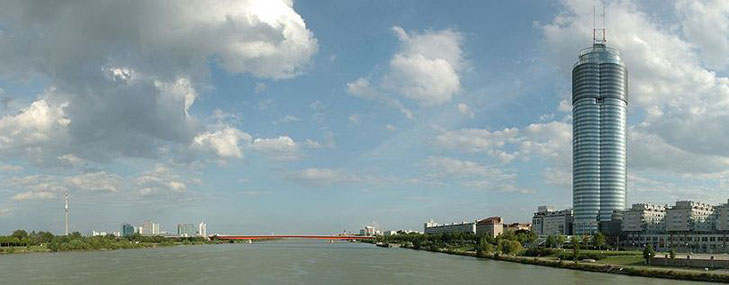
We are now finished with the creation of our first panorama. Further
post-processing like cropping "black" areas of the panorama, can be done with
an image editor of your choice...

Please send feedback to
salzamt@dativ.at

